

Photography doesn’t stop when the sun goes down. In fact, some of the most beautiful, dramatic, and memorable shots come alive in the dark—city lights glowing, candlelit dinners, starry skies stretching forever. The problem? Shooting in low light isn’t easy. Blurry images, noisy shadows, and underexposed disasters are every beginner’s nightmare.
That’s where low light photography techniques come in. With the right approach, even simple cameras can create stunning results. You don’t need the most expensive gear to make the most of tricky conditions. What you do need is a little patience, some practice, and an understanding of how light works when it’s scarce.
Let’s break down practical tips any beginner can master to shoot confidently in dim settings.
Cameras love light. The less there is, the harder they work to capture detail. Your camera might crank up ISO, stretch exposure times, or struggle to focus. That’s why learning how to take photos in the dark is less about pushing buttons randomly and more about knowing how your camera reacts.
Low light exaggerates every weakness. Tiny hand shakes suddenly look like earthquakes on the screen. Shadows swallow details. And grain, or “noise,” creeps in everywhere. Once you know these challenges, you can start using techniques to fight them.
So how do you actually improve? Start with small, actionable habits. Hold your camera steady, open your aperture wide, and learn to use slower shutter speeds without turning everything into a blur. These are the kinds of low light photography techniques that give beginners noticeable results fast.
Stabilization is your friend here. Even resting your elbows on a table or leaning against a wall can give you steadier shots. And don’t be afraid of tripods, even the mini portable ones—they instantly make your camera more forgiving in the dark.
Think of your camera as a balancing act between ISO, aperture, and shutter speed. Want more light? Open your aperture (a low f-number), or slow your shutter. Need brightness but don’t want blur? Boost ISO carefully.
The key with low light camera settings is to avoid extremes. Crank ISO too high, and noise wrecks the shot. Slow shutter too much, and motion blur ruins it. Beginners should experiment with aperture priority mode or manual mode to see how small changes impact results. A wide aperture lens (f/1.8 or f/2.8) also makes life easier, but even kit lenses can shine with the right tweaks.
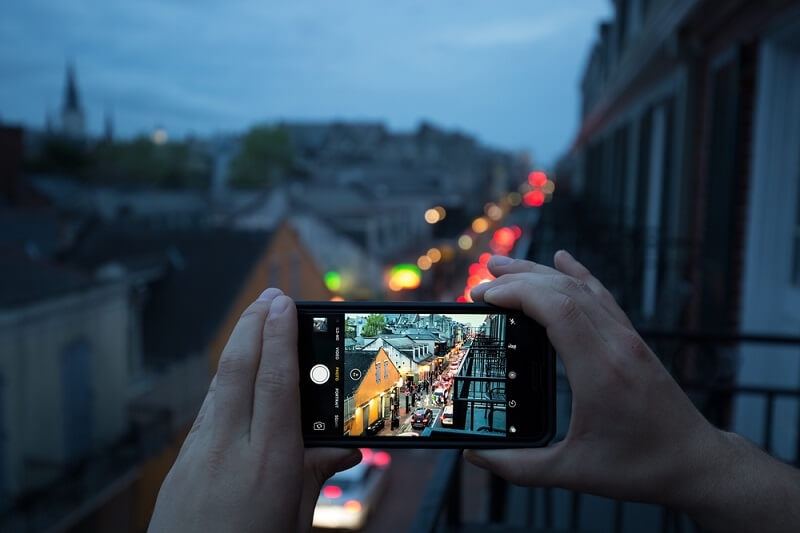
Shooting at night doesn’t mean every picture will be ruined. It just means you need to approach differently. Think about where light is coming from: street lamps, neon signs, even car headlights can become your allies.
A big part of learning how to take photos in the dark is embracing creative light sources. Instead of fighting them, use them as leading lines, silhouettes, or mood. If you’re indoors, candles or fairy lights can create surprisingly powerful atmospheres. Don’t be afraid to play with shadows. The dark can add drama your daytime shots don’t have.
Noise is the grainy texture that shows up in dim images when the sensor struggles. Everyone hates it, but it doesn’t have to ruin your work. Lower ISO when you can, expose correctly (underexposed shots made brighter in editing are noise magnets), and use noise reduction tools in post-processing sparingly.
If you’re serious about reducing noise in photos, shoot in RAW format. It gives you way more control in editing compared to JPEG. And here’s a trick: a little noise isn’t always bad. Sometimes it adds grit or mood to an image. The goal isn’t always to erase it completely, but to control it.
Indoor lighting can be even more frustrating than outdoors at night. Tungsten bulbs, mixed colors, shadows everywhere—it’s chaos. That’s why practicing shooting indoors without flash is essential.
Start by stabilizing your camera to allow slower shutter speeds. Open curtains during the day, move closer to lamps, and embrace wide apertures. If your subject is a person, encourage them to stay still for a few seconds—it makes a huge difference. The flash may seem like a quick fix, but it often kills atmosphere. Without it, your photos look natural and warm instead of flat and harsh.
Yes, expensive full-frame cameras handle low light better. But beginners don’t need to empty their savings. Some of the best budget cameras for night photography are mirrorless or entry-level DSLRs with decent ISO performance and compatibility with fast prime lenses.
If upgrading gear, a 50mm f/1.8 “nifty fifty” lens is often recommended. It’s inexpensive, sharp, and lets in tons of light. Pair it with a camera that has decent ISO control, and you’ve got yourself a low light kit without breaking the bank.
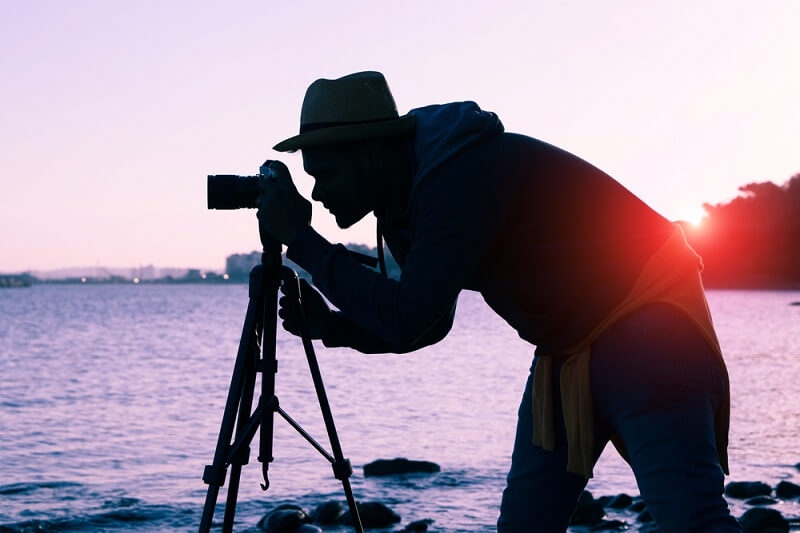
Tripods might feel boring, but they’re lifesavers in dim light. They let you shoot long exposures without blur, which means you can keep ISO low and capture crisp detail. Want a city skyline glowing at night? Or a silky waterfall at dusk? You need stability.
If a full-size tripod feels like overkill, consider smaller travel tripods or even tabletop ones. They’re perfect companions for experimenting with low light camera settings like slow shutter speeds.
Not everything has to be technical. Try “light painting” with a flashlight during long exposures. Use reflective surfaces like puddles for drama. Or experiment with silhouettes by placing subjects against bright backgrounds like neon signs.
This is where shooting indoors without flash or outdoors at night becomes fun instead of frustrating. The constraints push you to find new ways to use the available light. Many photographers discover their unique style when forced to get creative in the dark.
Every beginner makes them: relying too much on auto mode, maxing ISO unnecessarily, ignoring white balance. Another classic mistake? Forgetting to clean your lens. Smudges catch stray light and make night photos even messier.
One of the biggest top mistakes in low light is giving up too quickly. Expect a learning curve. Blurry shots are part of the process. Review, adjust, try again. That persistence pays off.
Mastering dim conditions makes you a better photographer overall. You’ll learn patience, develop steadier hands, and understand exposure in a way that daytime shooting doesn’t teach. Plus, low light gives you access to whole new genres—astrophotography, concerts, night street scenes.
Once you’ve practiced reducing noise in photos and playing with creative light sources, even daytime images improve. You become more intentional about light and shadows in every shot.
Shooting in the dark can feel intimidating at first, but it’s not impossible. Learn your camera, stabilize your shots, and experiment with creative approaches. Gear helps, but habits matter more.
The next time you step out into a dim street or sit in a candlelit room, don’t reach for the flash right away. Take a moment. Adjust your settings. Try something new. Because mastering low light photography techniques isn’t just about better pictures—it’s about training your eye to see beauty in places others overlook.
This content was created by AI