

Cameras are friends of faith. So, regardless of whether you use your DSLR for work or personal memories, it is not only a matter of appearance whether your camera is clean. The presence of dust, smudges and fingerprints can influence the experience of the way of how your equipment feels, functions and even the quality of your photographs. When you are new to photography, the idea of cleaning your DSLR camera body can be overwhelming. But worry not--this easy step-by-step manual will take you through how to keep it safe and inexpensive without breaking your equipment.
Beginners are also usually afraid of ruining their camera, which is why they are reluctant to clean the parts of the DSLR camera body. This indecision is absolutely normal. However, when you have the right method, keeping your camera body clean, safe and appearing brand new is possible. A clean camera also contributes to making your mind feel clean and inspired each time you take it.
Consider the frequency of use of DSLR. The surface can be covered with oils on your hands, dirt on your bag, and dust in the environment. This may, over time, cause the buttons to become sticky, release foul odours or even transfer dirt within. Regularly cleaning the body will keep your camera in good shape, and you will always have the camera ready to shoot.
No firm rule is set in stone, but as a newcomer, wipe the body of the DSLR at least once every two weeks, provided that you use it frequently. When you shoot outdoors or near sand or in dusty places, clean it more often. Cleaning should be done regularly rather than waiting till it accumulates.
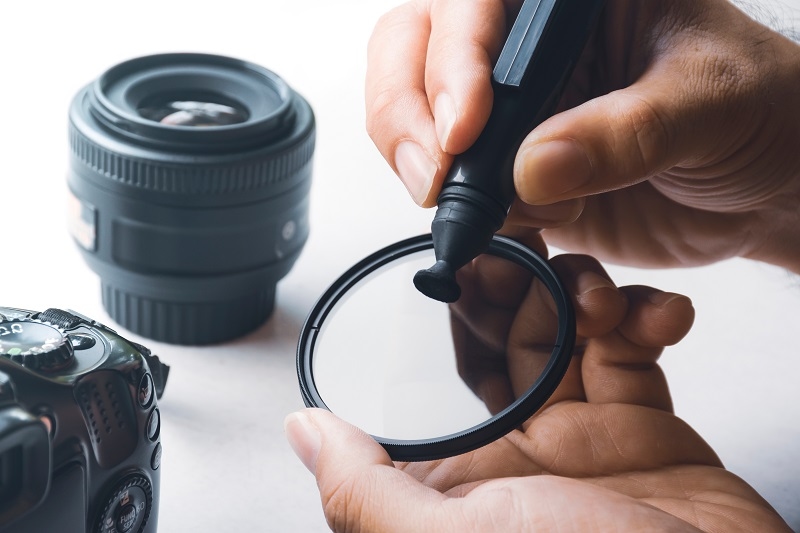
The main thing to consider before you descend into the cleaning is to collect the right tools. Scratches or damage may occur from the use of rough tissues or harsh sprays, which are not safe to use. Fortunately, safe cleaning techniques for DSLRs and cheap equipment exist that are practical to start with.
Most camera stores sell affordable cleaning kits. These kits usually include microfiber cloths, lens brushes, blower bulbs, and cleaning wipes. The good thing is that you do not need to spend a fortune—an affordable cleaning kit can last for months and keep your DSLR in great shape.
Avoid household cleaners, paper towels, or rough sponges. These items might seem harmless, but they can scratch or leave lint behind. Also, never spray liquid directly on your camera body, as it can seep into small openings.
If you do not have a kit yet, you can use soft microfiber cloths you already own, a clean makeup brush for dusting, and gentle alcohol wipes (safe for electronics). These DIY camera cleaning guide tips are handy when you are on a budget.
Dust is one of the biggest enemies of a DSLR. It sneaks into corners, buttons, and crevices. Removing dust from the camera body areas carefully helps your camera stay fresh.
Start with a blower bulb. Gently squeeze it to blow air across the camera body. This removes loose dust without any physical contact, which means no risk of scratching. Do not use your mouth to blow, as moisture can damage the camera.
After blowing away surface dust, use a small brush to sweep dust out of tighter areas like around buttons or near the viewfinder. A soft makeup brush or a brush from your kit works perfectly.
Finally, use a dry microfiber cloth to wipe the surface. Move gently in circular motions. This step removes leftover dust and oils without leaving marks.
Sometimes, cleaning is not enough—you want your gear sanitised, especially if you share your camera or travel frequently. But sanitising a DSLR must be done carefully.
Electronics-safe alcohol wipes are perfect for sanitising. They remove bacteria without leaving residue. Lightly wipe areas you touch most, like buttons, dials, and grips.
The key is to never let liquid seep into your camera. Always use a damp cloth or wipe, never something soaking wet. Even a drop of liquid inside the ports can cause problems.
Beyond safety, sanitising also keeps your DSLR smelling clean. Nobody wants a sticky or grimy camera, and a fresh-smelling one is much more enjoyable to use.
While the steps above will cover most of your cleaning needs, a few extra tips can make your cleaning routine even better.
Turn your DSLR off and remove the battery before cleaning it. This stops the accidental button presses and keeps you safe due to the discharge of static.
Half the battle is to clean. By keeping your DSLR in a bag that is dry and free of dust, you will not have to clean the camera as much. To keep your bag dry, add silica gel packs to your bag.
Clean up is a part of your photography practice. In my opinion, the best attitude to clean your camera after a huge shoot is 5-10 minutes of cleaning and then storing. It is a little practice that will earn you some later.
Photography is personal. Your camera is not only a technical tool, but it is also a companion on your trip to record memories. The way to take care of it is by cleaning it regularly as a sign of respect and love for your craft.
You are proud every time you pick up your DSLR because it is clean. It is less uncomfortable to pick up and use, and this translates to the fact that you will practice and learn to take better photographs.
When you know your camera is clean and well taken care of, you can be confident. You are not to worry about greasy buttons and grimy grips getting in your way when firing.
A clean camera is inspiring. It is energised, and that transfers onto you. Whenever you take it out of your bag, it arouses excitement and inspiration to take something new.
The task at hand is not perfection when it comes to cleaning DSLR camera body parts, but rather constant care. By using safe DSLR cleaning procedures, cheap cleaning test sets, and easy DIY hacks, anyone can maintain their DSLR in the best condition. Keep in mind, it is not about repeating it, but the creation of a habit of care. A clean camera is not just a matter of maintenance of gear, it is a matter of respecting photography art and the memories he or she takes.
This content was created by AI