

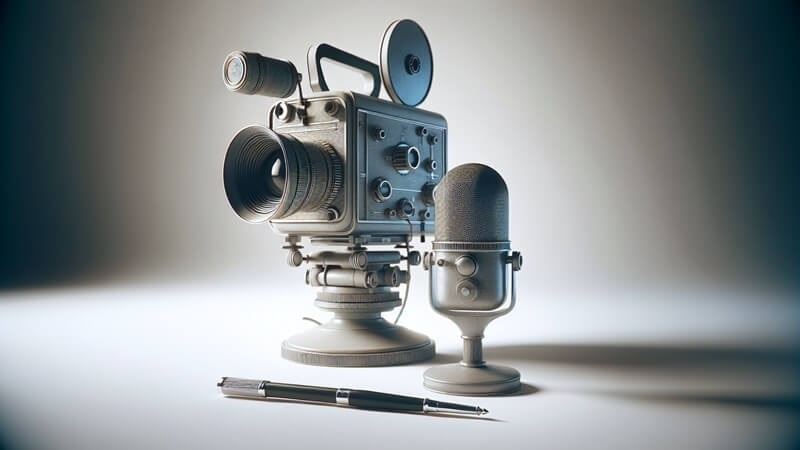
Production of unique videos is not only about being visual. The sound of the audio is very significant in maintaining the audience. Novice and even semi-producers tend to overlook this, and yet the fact is that poor sound can render the most breathtaking artwork amateurish. The good thing is that you do not require a costly setup to make your sound better. Budget camera microphones allow capturing clear and professional audio without draining your pocketbook. In this blog, we are going to discuss some of the most suitable ones, provide practical advice, and make you realise what is effective in various kinds of videos.
Video audio upgrade does not require it to be costly because a few dollars will suffice. A number of budget camera microphones are capable of providing amazing output. Let us consider some of the trends that most of the innovators in the USA are adopting.
The Rode VideoMicro is a small powerhouse. This miniature microphone is useful in vlogging, YouTube videos and informal interviews. It is equipped with a furry windshield and a shock mount to be used outside.
This mic is ideal when you are a beginner and do not need an overwrought setup. It fits quite well on top of your camera, and it instantly enhances sound quality.
The Takstar SGC-598 is a great choice if you do not wish to spend a lot but want a slightly longer shotgun mic. It is very low-priced but offers a significant step over built-in camera microphones.
This mic is a little larger than the Rode VideoMicro and is lightweight. It is more directional, that is, it brings out your subject well with less background noise.
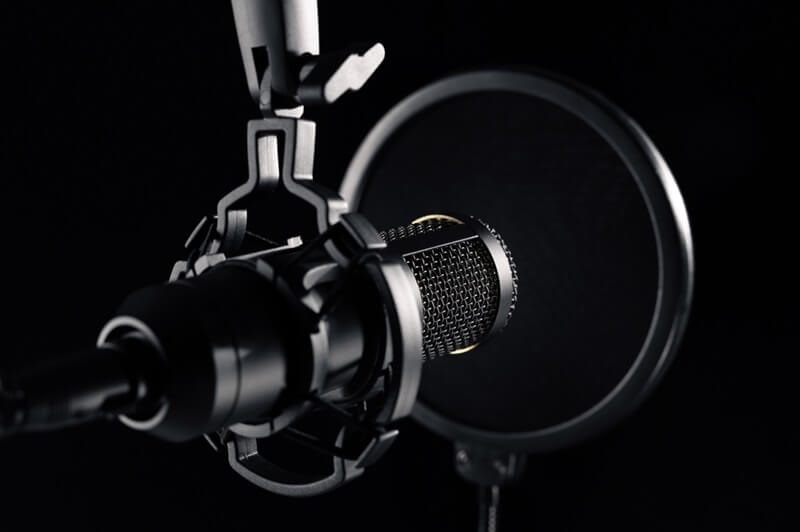
Having a budget camera microphone is great, but pairing it with other affordable audio gear can take your videos to the next level and significantly improve overall sound quality for any type of production.
Even a good microphone can pick up unwanted sounds like wind or plosive consonants. Using a simple pop filter or windscreen helps maintain clarity. These are inexpensive, usually around $10-$15, and easy to attach.
Sometimes the camera itself doesn’t give the best audio. Portable recorders like the Zoom H1n (around $120) allow you to record clean sound separately. You can sync it in post-production for professional results.
Shotgun microphones are directional, meaning they pick up sound primarily from the front while reducing noise from the sides. They are perfect for vlogs, interviews, and narrative videos.
The Movo VXR10 is a compact shotgun mic that works on DSLR cameras, camcorders, and even smartphones. It’s small but surprisingly powerful.
Many users appreciate its versatility and portability. You don’t have to worry about complicated setups, which is ideal for creators on the go.
The Comica CVM-V30 LITE is slightly larger but still affordable. It offers clearer sound in outdoor environments and comes with a shock mount to reduce handling noise.
This microphone is great for creators who want something between a tiny on-camera mic and a full professional setup.
Lavalier microphones, or lapel mics, are clipped to your clothing and are perfect for interviews or speaking videos. They give freedom of movement while keeping audio clear.
The Boya BY-M1 is an extremely affordable and reliable option for beginners.
This mic is easy to hide under clothing, making it ideal for creators who want a clean and professional look.
Another beginner-friendly option is the PowerDeWise lavalier mic. It’s compact, easy to use, and comes with a long cord.
Lavalier microphones are often overlooked by beginners, but they can drastically improve video audio without complicated setups.
Improving audio is not just about buying a microphone. Proper setup and technique matter a lot. Here are simple tips that can help.
The closer the microphone is to your object, the better the sound. Microphones of even low cost do much better when properly placed. In the case of lavaliers, trim it at the collar or the chest. In the case of shotgun mics, point it right at the source of sound.
Prefer the use of a quiet shooting environment. Switch off fans, air conditioning and any other electronic devices that produce hums. When outside, put a windscreen on your mic.
It is always important to check your audio as you record. There are plenty of cameras with the ability to add headphones. Real-time listening will also help in avoiding frustration in the future when you find out that you can not use the sound.
When you are buying your first entry-level camera microphones, the following are some of the ways in which you can make a smart decision.
Ensure that the microphone is compatible with your camera, smartphone or recorder. The jack used in most cameras is 3.5mm, although there are a few that demand adapters or USB.
There are batteries on some microphones, and others are either plug-and-play. Entry-level users should find it easier with a mic that does not require a battery.
When you are vlogging outdoors, a shotgun mic with a windscreen is the best. A lavalier mic is preferable in the case of an interview. Awareness of your style can save you the needless purchases.
Real-life performance is often revealed in user reviews. Disregard comments made by individuals who use similar tools and shoot in a similar environment.
Test the microphone in case you can. Minor variations in the sound quality can count, and experimentation lets you make the decisions that will work best with your rig.
One of the most intelligent investments to enhance your video data is to invest in budget camera microphones. Categories such as Rode VideoMicro, Boya BY-MM1 and Takstar SGC-598 are options, with good sound capability despite their low cost. Incorporating low-budget audio equipment, knowledge on how to place the microphones, and easy audio tricks can help your videos be more interesting and pleasant to listen to. It is important to remember that good sound not only makes your video more enjoyable, but it also creates credibility and makes viewers revisit the video.
This content was created by AI